

Installing VDS/VPS Windows Velocity Server
With this guide, we will install the Velocity software, look at the necessary settings, and then learn how to log in to the server.
Server Purchasing
Your servers:
- Unprotected?
- Is the internet speed low?
- Are there insufficient resources?
For affordable servers:
Buy your server now with Rabisu
File Preparation
The software that unifies Minecraft servers under a single network and allows players to move from one server to another is Velocity.
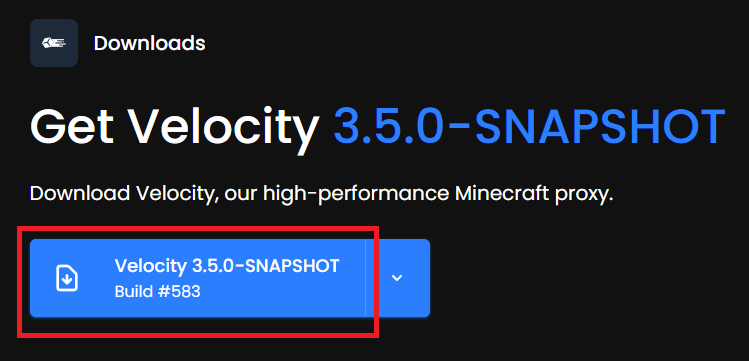
You can download the Velocity file here.
After downloading Velocity:
- Create an empty folder
- Folder name must consist of English characters only
Example folder name:
velocity
Do not use Turkish characters or symbols.
Download the Velocity file to the folder.
Placing the Velocity File
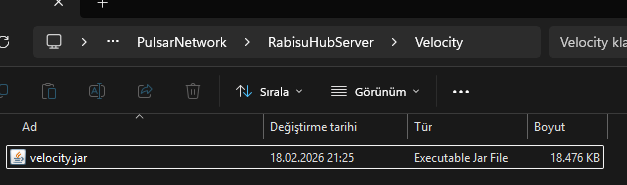
Put the Velocity file you downloaded into the folder.
For easy use, you can change the file name to:
velocity.jar
Starting Velocity Server
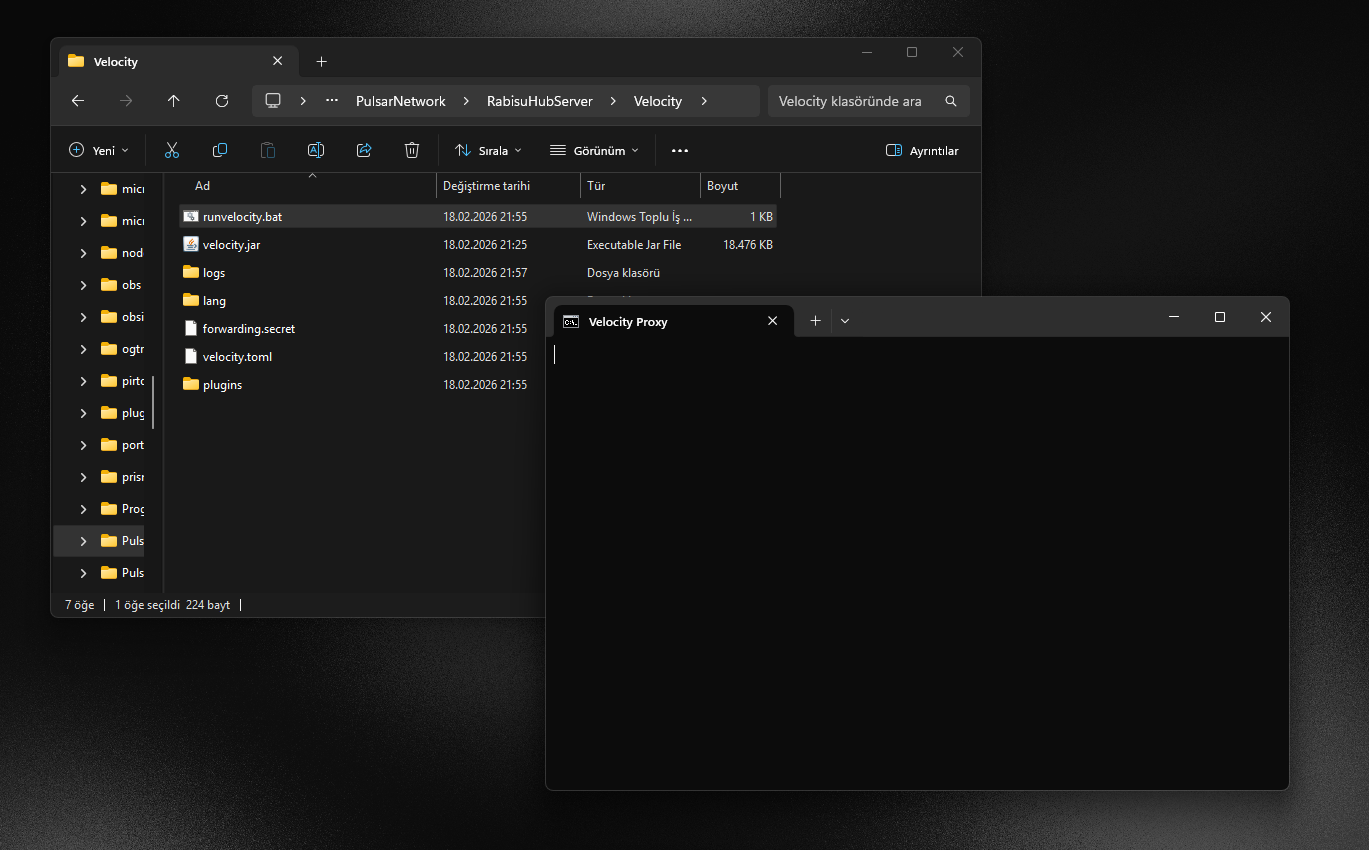
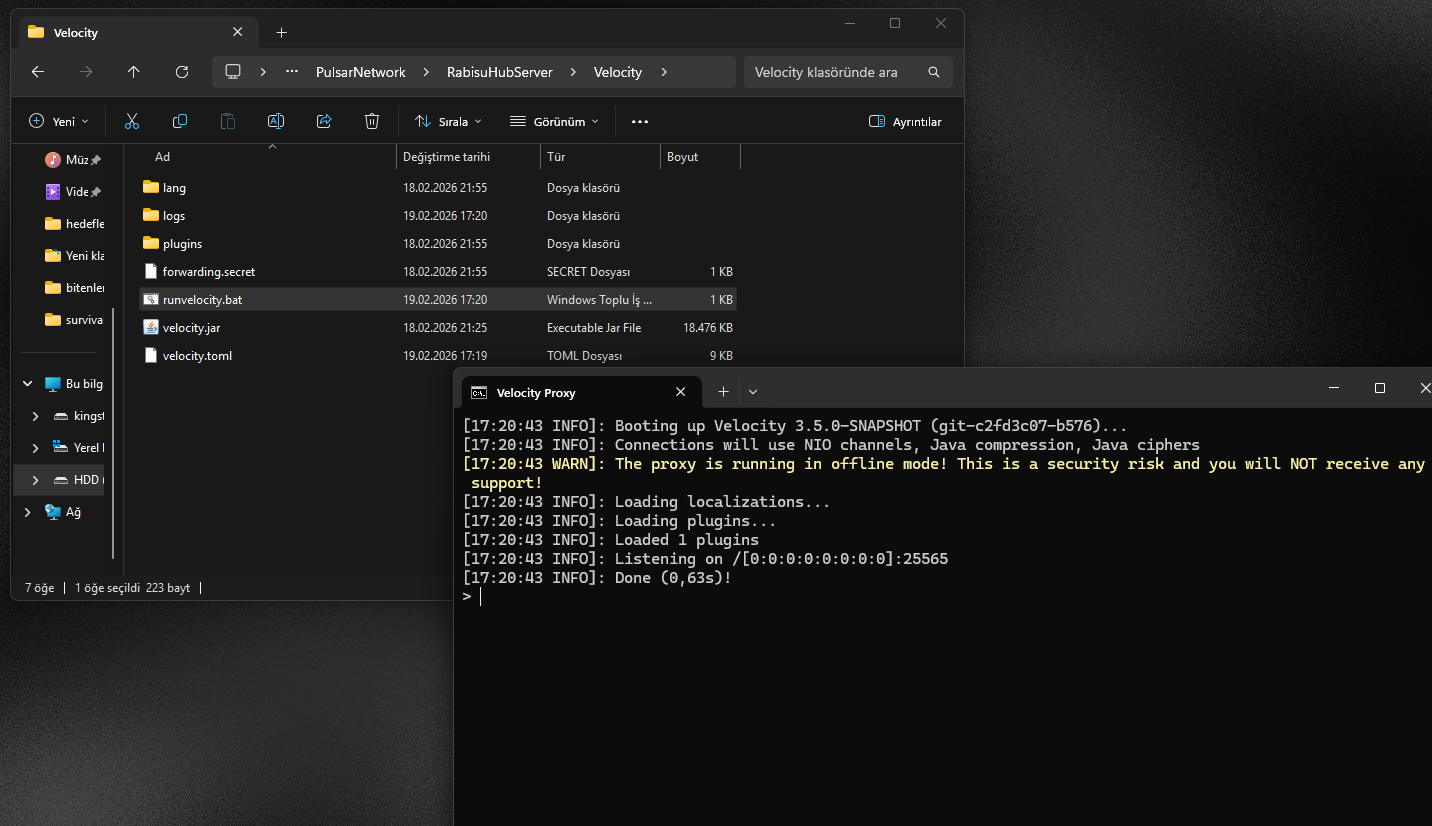
Start the Velocity server by running runvelocity.bat.
At the first run, the necessary files will be created automatically.
I start all my Minecraft servers with .bat scripts that I created on this site:
Start Script Generator
If you get a Java error, you can take a look at the Java error resolution guide.
Velocity Settings
Now we will adjust the Velocity settings.
All settings are located in the following file:
velocity.toml
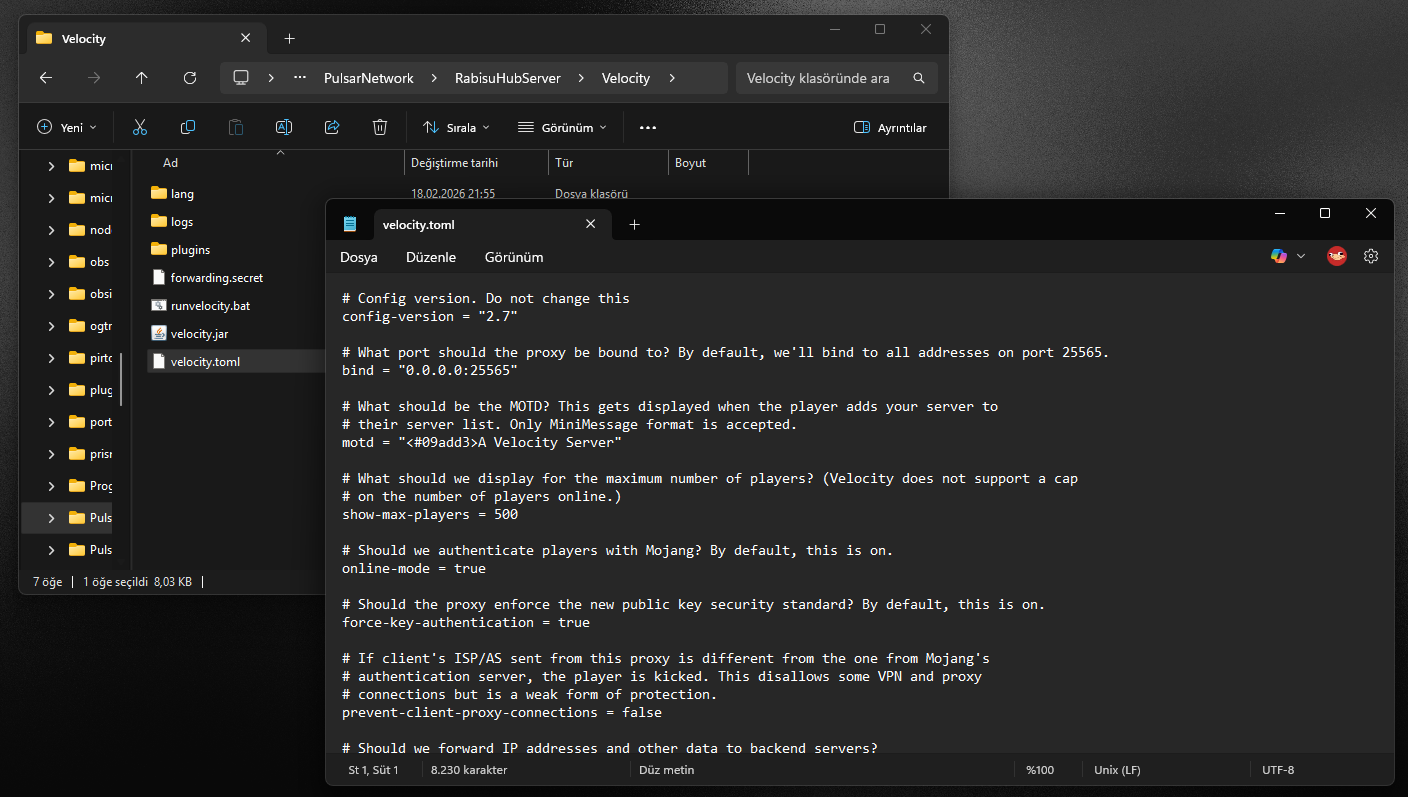
Below I have explained the most important settings one by one.
#Bind
It determines the port on which the server will operate.
Example:
bind = "0.0.0.0:25565"
I am using port 25565.
#motd
Determines the description that appears in the server list.
#show-max-players
It is the maximum number of players visible in the server list.
Velocity doesn't actually enforce this limit, it's just for visual purposes.
online-mode
For pirate players to log in:
online-mode = false
you can.
player-info-forwarding-mode
I'm using the modern setting.
Options:
| Setting | Description |
|---|---|
| none | Players are directed directly to the server |
| legacy | Versions 1.12 and below |
| bungeeguard | old versions + IP sharing |
| modern | Recommended for 1.13+ |
#announce-forge
If one of your servers is modded:
announce-forge = true
you can.
kick-existing-players
If online mode is active:
kick-existing-players = true
It is recommended that you do this.
ping-passthrough
Recommended setting:
ping-passthrough = "all"
If there is a modded server:
mods
you can choose.
sample-players-in-ping
When it comes to the ping section in the server list, shows random player names.
It is recommended to leave it open.
enable-player-address-logging
Determines whether players' IP addresses will be written in logs.
true
It is recommended for security reasons.
Introducing Servers to Velocity
You need to define the names and ports of the servers that will connect to Velocity.
Example:
[servers] lobby = "127.0.0.1:25566" survival = "127.0.0.1:25567"
Server names must contain only English characters.

Default Server
When players first connect, they determine which server to go to.
Example:
try = ["loginlobi"]

Domain Setting
If you are using a domain, you can set it here.
I'm just writing the server names.

Network Performance Tuning
If the internet is slow:
compression-threshold = 1
It increases CPU usage but reduces internet usage.
I am using the following value:
256

Data Compression
Data compression setting:
compression-level = 9
CPU usage increases.
For performance:
0
you can.

Reconnection Time
Waiting time to reconnect after the player exits.
1000 = 1 saniye
Me:
3000
So I use 3 seconds.

Switching Between Servers
Transition time between servers.
Recommended minimum:
3

Connection Timeout
Determines how many seconds to wait when a player disconnects.
Me:
30 saniye
I'm doing it.

Don't Kick the Player to the Lobby When the Server is Down
failover-on-unexpected-server-disconnect = true
If the server goes down, the player will be sent to the lobby.

Command Logging
Writing the commands used by the players into logs.
For clean log I:
false
I use.

If the Servers are on Different Machines
If the servers are in different VDSs:
It should be accepts-transfers = true.
Command Spam Protection
The time it takes to use one command and then use another.
Me:
50ms I let go.

Starting Velocity Server
Run the Velocity server and check for errors.
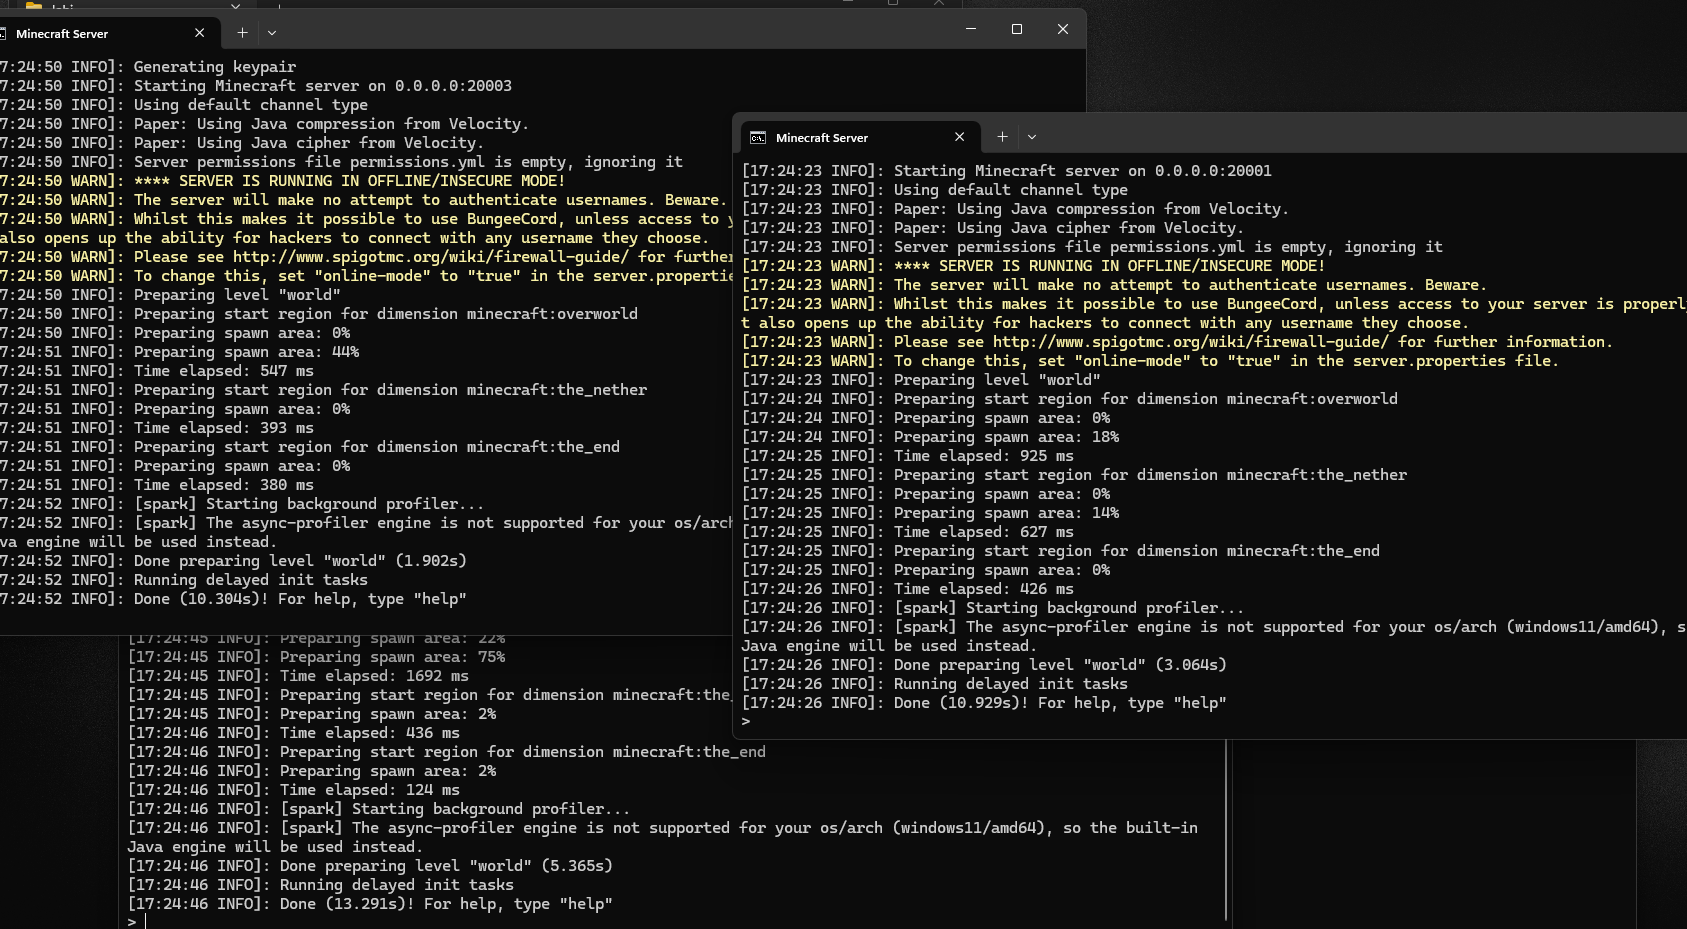
All Servers Active
If everything is correct, you will see an image like this.
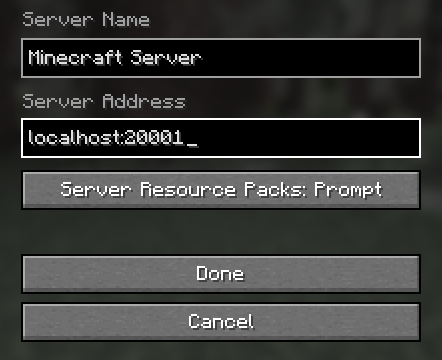
Connecting Directly to the Server
If you connect directly to the backend server instead of a proxy, you will see this error.
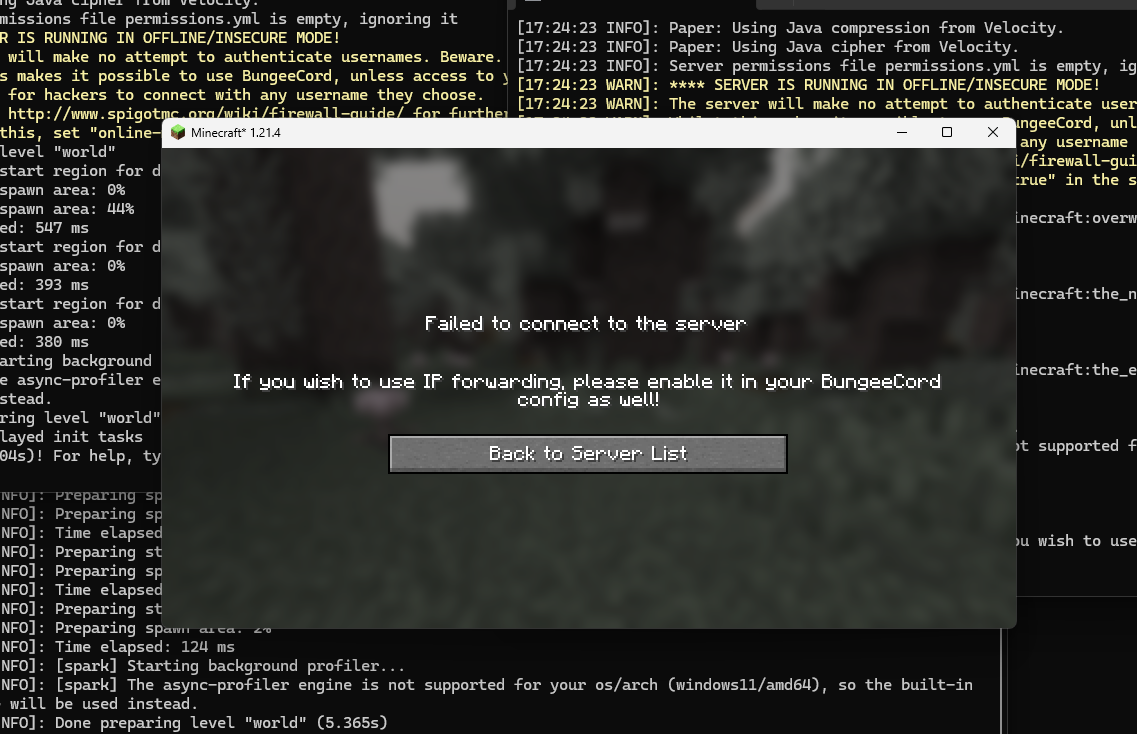
This is a good sign because the server is now running behind Velocity.
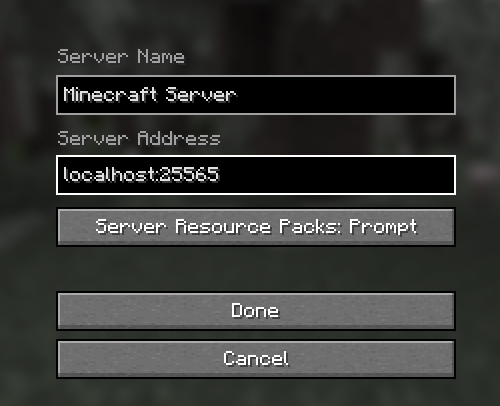
Connecting via Velocity
If you connect to the Velocity port, you can log in.
Example:
25565
Connecting via IP Address
Format to connect to the server:
IP:PORT
Example:
123.456.7.89:25565
IP Learning
To find out your server IP address, go to an IP check site and:
Use current IP
You can press the button.
Security Warnings
Just open the Velocity port.
I just open the following port:
25565
All other ports are closed by firewall.
In this way, hackers cannot connect directly to the backend server.
forwarding.secret Setting
The Velocity folder contains the following file:
forwarding.secret
Copy the code in this file.
Then use it in this file:
paper-global.yml
secret:
Paste it in the section.
Additional Security Settings
Don't forget to enable these settings:
bungeecord = true velocity = true
Latest Security Recommendations
For your server also:
- Anti bot -Firewall
- Proxy protection
- Authorization system
It is recommended that you use
Result
In this guide:
- Velocity setup
- Velocity settings
- Server connection
- Security settings
- Connection methods
learned.
You can now run your Velocity-based Minecraft server network.